Tutorial #7: Explore IDEAL Group's "Tesseract," Online OCR Implementation
-
Signup:
To Sign up for CRIS OCR, please go to http://archives.proaxsys.com/signup or http://archives.proaxsys.com/login and click on “I want to register.” A "New User Registration" dialog box will appear. See Figure 1.
Type in an eMail, Name, and Password. Click
the “Register” button. Here are some test credentials: Email: ocr-1@ideal-group.org Email: ocr-2@ideal-group.org Email: ocr-3@ideal-group.org Test documents to download, submit
to the OCR engine, and otherwise experiment with:
Documentation and Instructions:
Name: Archives Test 1
Password: Archives-1
Name: Archives Test 2
Password: Archives-2
Name: Archives Test 3
Password: Archives-3
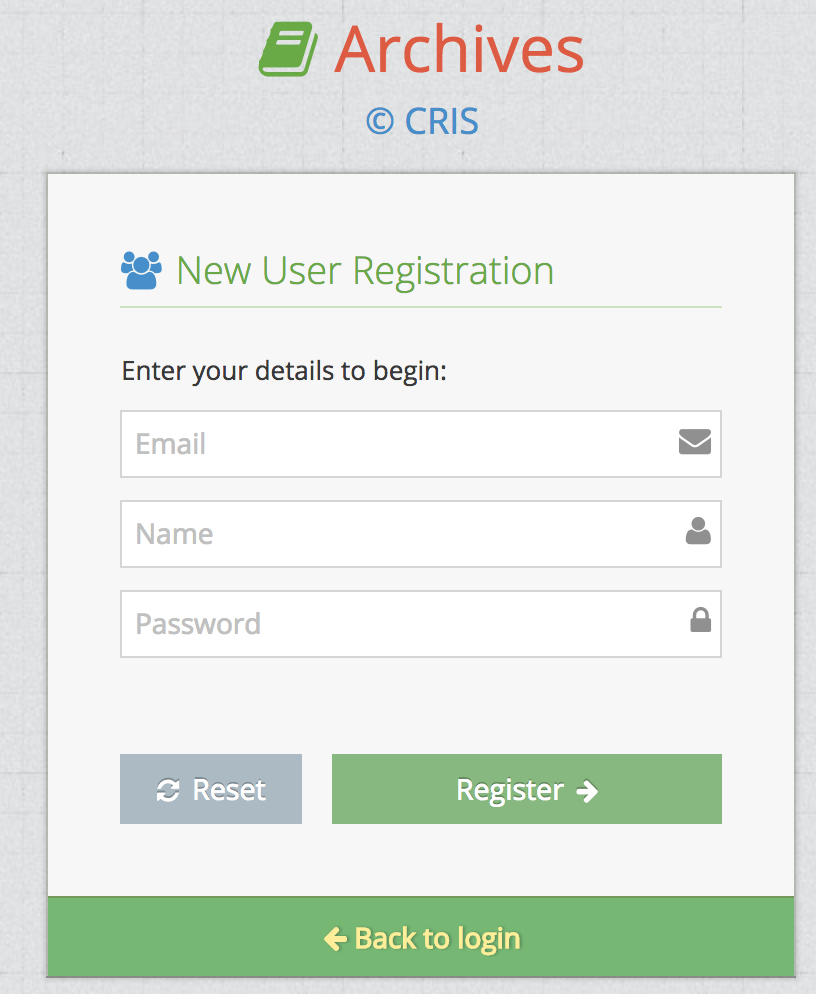
Figure 1. Signup page
-
Upon successful sign up you will be directly logged into the system. You will see user dashboard as in Figure 2. Details of dashboard are described in Section 2 below.

Figure 2. Successful Sign Up
-
If you have signed up before then you will see the message that “User already exists.” See Figure 3.
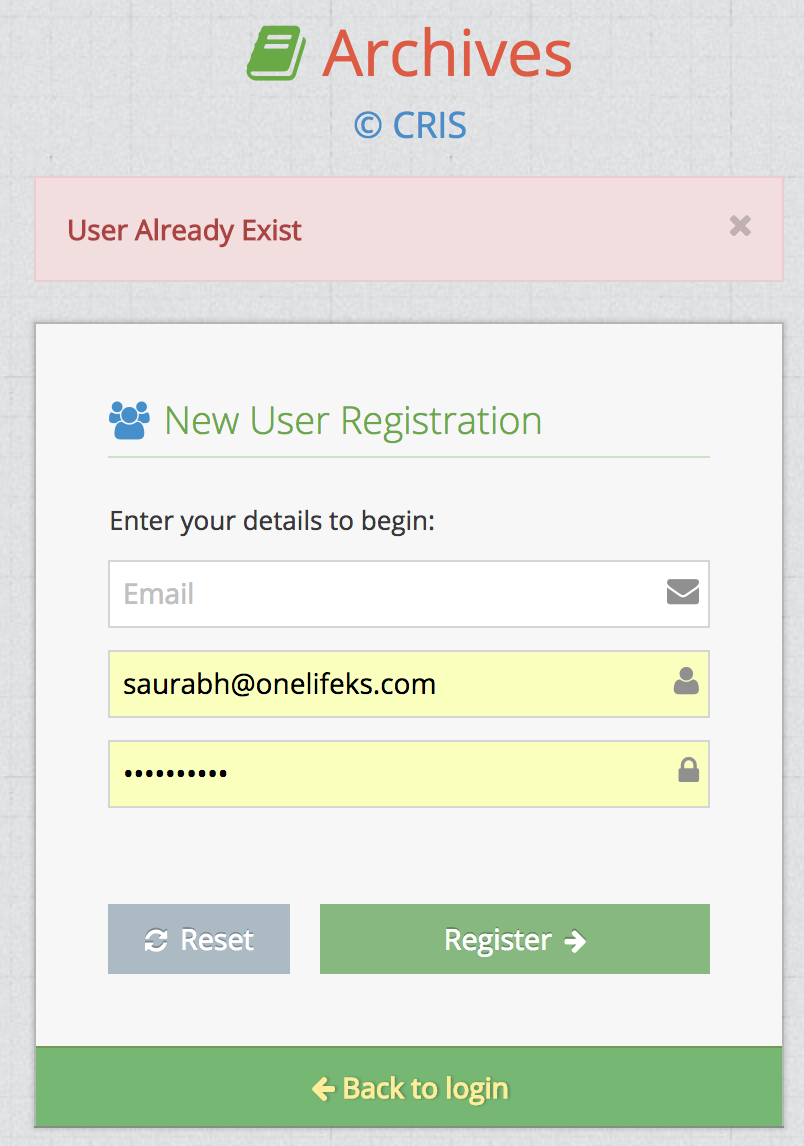
Figure 3. User Already Exists
-
The minimum length required for password is 8 characters. If you input less than eight characters, you will see an error message. See Figure 4.
![]()
Figure 4. Minimum Password Length
-
Signing in to CRIS Archives OCR:
-
To sign in to CRIS Archives OCR, please go to http://archives.proaxsys.com/login.
-
Please type your eMail and Password in the fields as shown in Figure 5. Please use same eMail and Password used in the signup process.
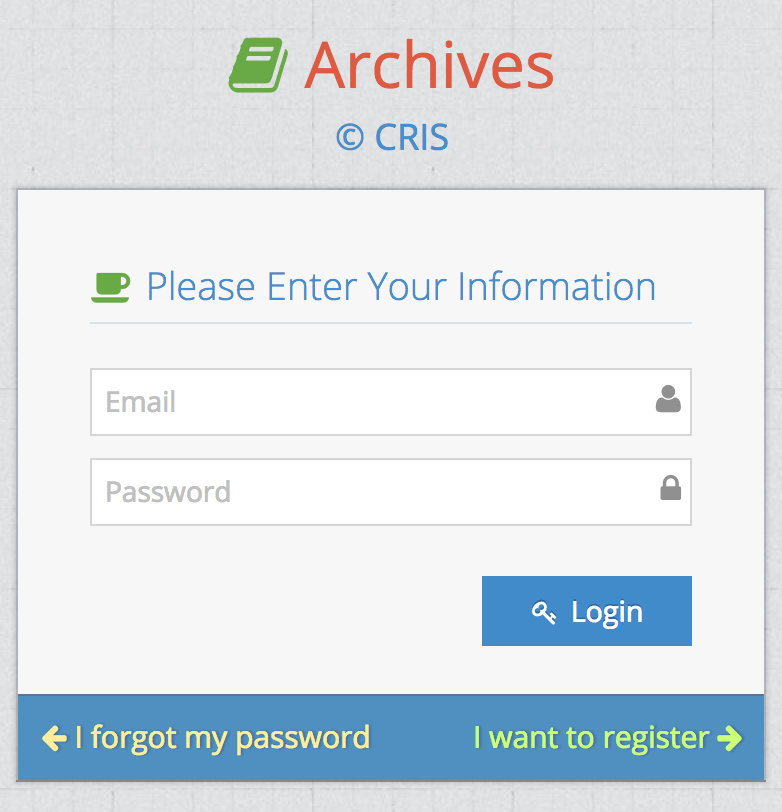
Figure 5. Login Page
-
On successful login you would be taken to user dashboard as shown in Figure 2 above.
-
If you entered incorrect eMail or password, you will see the error message as in Figure. 6.
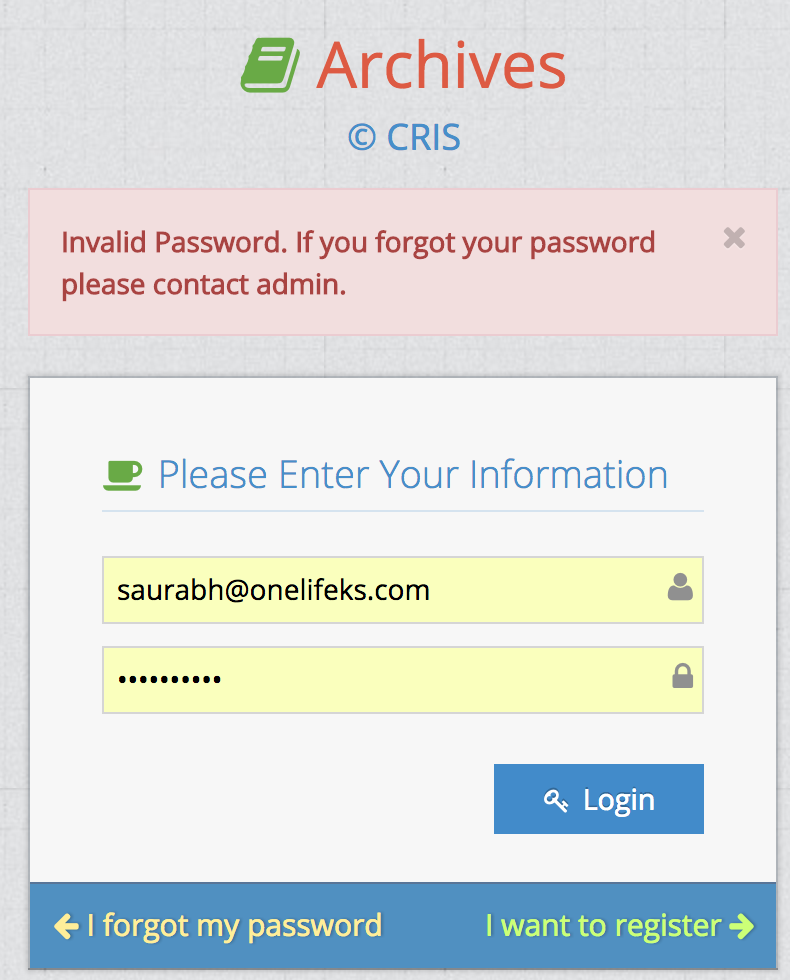
Figure 6. Incorrect Password
-
You can reset your password on your own as described in section 1(c) of this document or contact administrator at archives@onelifeks.com.
Reset your password:
-
Please click on “I forgot my password” button and you would be redirected to page on Figure 7.
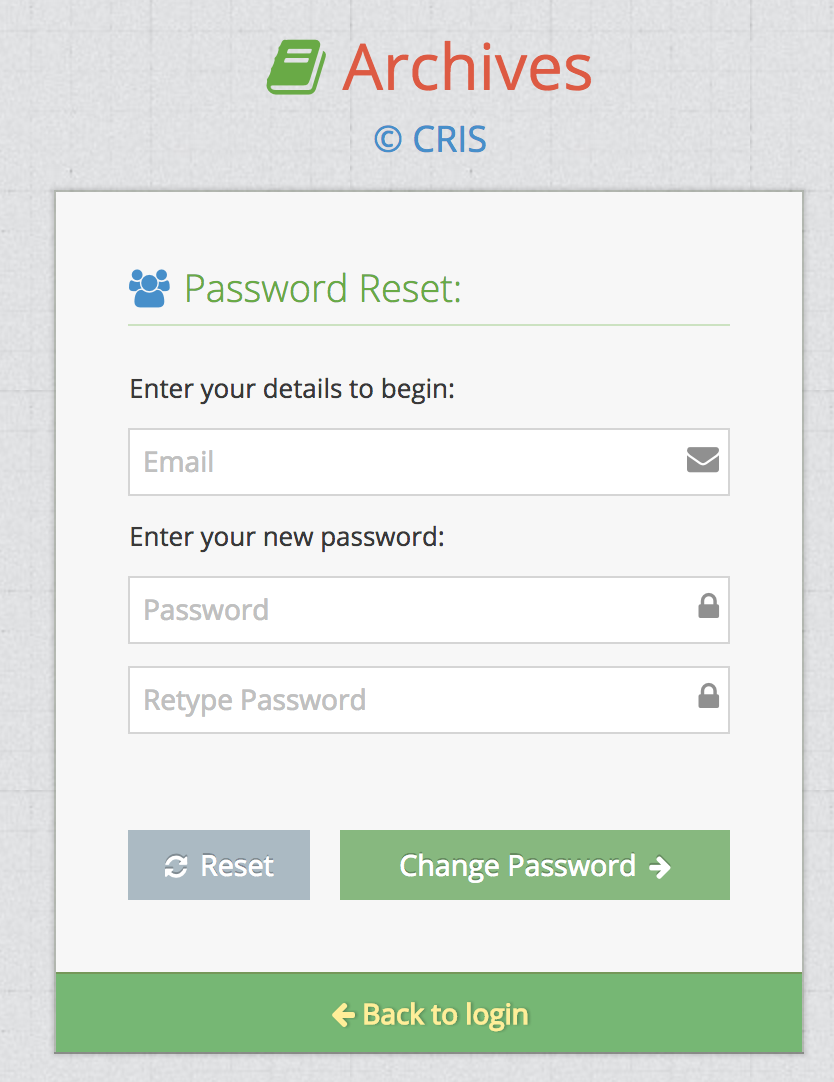
Figure 7. Forgot Password
-
Please enter your eMail and new Password. You are asked to repeat your password to make sure you typed password correctly.
-
On successful password change you will be redirected to the login page where you can sign in with your newly set password as shown in Figure 8.
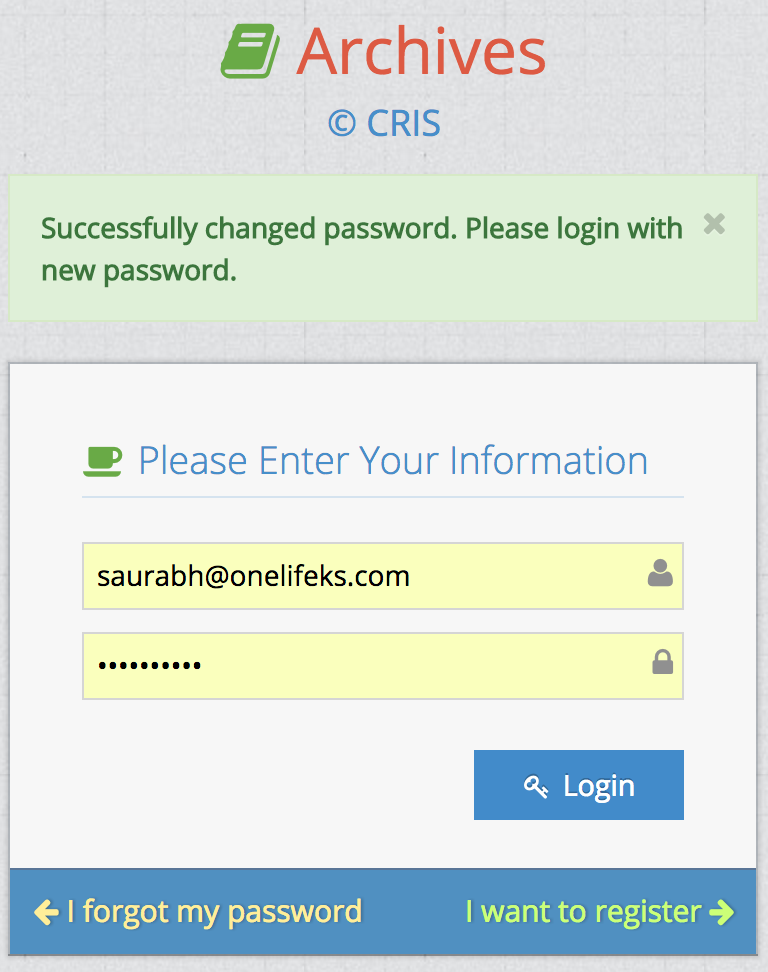
Figure 8. Successful Password change
-
If your typed passwords don’t match, you will see the error message, “Passwords don’t match.” See Figure Figure 9.

Figure 9. Password Doesn't Match
-
If your eMail doesn’t exist in the system, you will see the error message, "“your email id doesn’t exist and please click to sign up.” See Figure 10.
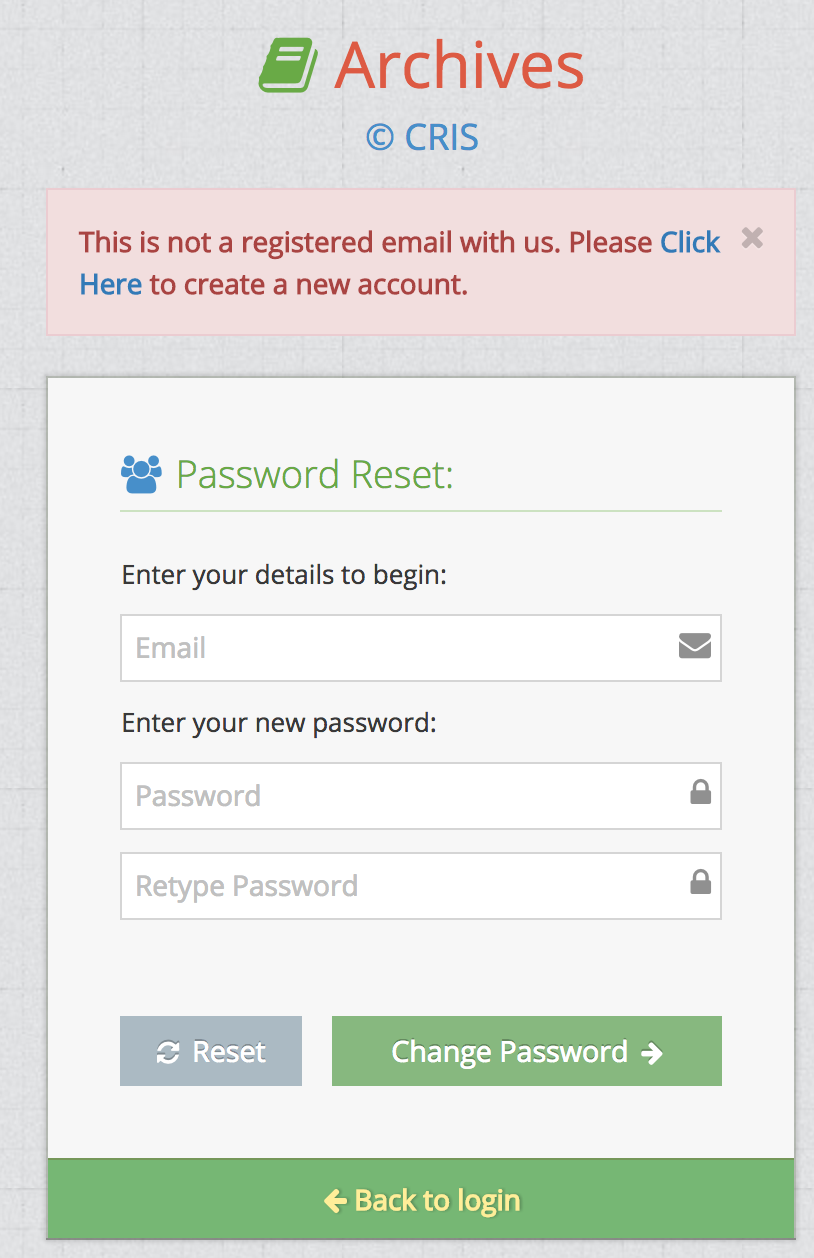
Figure 10. Not Registered - Email ID
3. Using the Archives System
-
When you logged in successfully or registered successfully in the CRIS Archives Application
-
You will see the “Logout” button on Top Right corner so that you can logout of the application when you have completed your work.
-
On the top left, there are two buttons using which you can create files into CRIS Archives Application.
-
“Upload File” : Using this you can upload any PDF file into the archives application. The application then performs OCR on the PDF file uploaded to extract text from the PDF file uploaded.
-
“Create File”: In case if you would like to create a fresh file rather than performing OCR on already existing file, then you can click on this button.
-
-
You will see two tables which are initially empty.
-
Uploaded:
-
Here you will see all the PDF files that you have uploaded or Created using the buttons for “Upload File” or “Create File”
-
By default we show 100 records but you can customise the number of records you would like to see.
-
You can also type in Search box to find matching file names.
-
When you have uploaded the file to the system, you will see following entries for a file in a single row.
-
File Name
-
Tesseract : It is name of OCR engine. It has two buttons.
-
Edit Button: For Editing the OCR output generated from the PDF file or Edit the text file created.
-
Ebook Button: For downloading the ebook for the corresponding OCRed document.
-
-
Action: Actions that you can perform on each file
-
Share: If you would like to invite any other user for editing the OCR output. In case, if you enter the email id of the user who haven’t signed up on the application, he will see the file once has signed up for the application.
-
Delete: If you would like to delete the entry for the file from the system.
-
-
-
-
-
-
Shared:
-
Our system allows you to invite other collaborators for editing the same file that is on your system. Here, you will see list of files if anyone has invited you to edit the file “Uploaded” or “Created By” other users.
-
By default we show 100 records but you can customise the number of records you would like to see.
-
You can also type in Search box to find matching file names.
-
When some other user has invited you to edit file uploaded him/her, you will see the following entries for a file in a single row.
-
File Name
-
Tesseract : It is name of OCR engine. It has two buttons.
-
Edit Button: For Editing the OCR output generated from the PDF file or Edit the text file created.
-
Ebook Button: For downloading the ebook for the corresponding OCRed document.
-
-
-
-
Steps for Uploading a file for OCR
-
Click on Upload File Button
-
You will taken to a page where you can drag and drop the file you would like to upload or you can click on the area to upload a file.
-
You will be shown a file explorer to select the one you would like to upload.
-
Once you select the file, please wait for the file uploader to complete 100% and show you the message “File uploaded successfully and queued for processing”.
-
You can upload more files if you like using the same process, or you can click on “Check Files” to go back to list of files.
-
In the list of files in Uploaded section, you can search the name of the file you just uploaded.
-
Click on the “Edit” button. If the file has not been processed yet, it will show you the message “The file submitted by you is still being processed.”
-
If the OCR process has completed successfully, you would be taken to the editor for this specific while where you can see the original file uploaded and OCR output next to each other.
-
-
Steps for Creating an EPUB:
-
Once the OCR process has successfully completed, you are taken to the page where you can see the original file and the OCR output in an editor side by side.
-
The editor on the web-browser has all the standard editing functions of MS-Word application where you can format the output of the OCR and correct to match the original document.
-
Please make sure to mark the headings in the document accordingly as they are used by the EPUB generator to create table of contents.
-
Once you have finished the formatting and correcting the OCR output, you can click on EPUB button on the editor to export the document in EPUB Format.
-
The exported EPUB format is readable on any fully compatible EPUB reader.
-